


Powerful Automated Workflows + New Design = FunnelKit Automations’s Next-Gen Automation Builder
You get six nodes to achieve your use case in the automation:
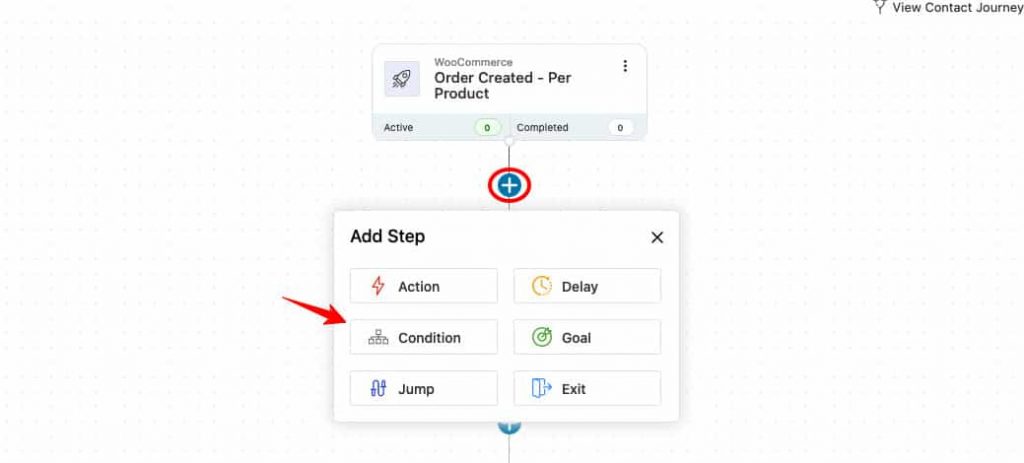
- Action - Specify actions such as ‘Send email’, ‘Add a tag’, ‘Create contact’, ‘Send data’, and more.
- Delay - Add a delay in your workflow in minutes, hours, days, weeks, and months.
- Condition - Define if-else conditions in your automated workflows such as ‘Order purchased’, ‘Geography’, ‘Engagement’, ‘Segments’, etc.
- Goal - Specify goals for your automations like order created, the link gets clicked, contact subscribes, and more.
- Jump - Skips to a particular step by making a jump through the automation nodes.
- Exit - Exits from the particular automation.
Configuring Your Sequences
If you want to configure any nodes of your sequence, i.e., actions, triggers, delays, goals, etc., just click on the respective sequence.
For example, let’s configure the order created - per product trigger:
Configure this trigger by clicking on the event.
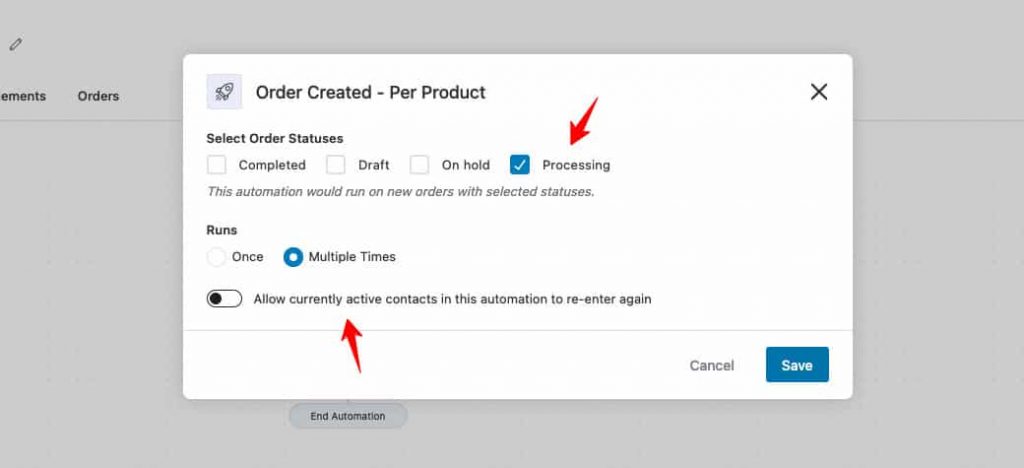
You can even set configurations in your actions, delays, goals, and conditions as well.
Once you’re done, click on Save to lock all the changes.
Editing Your Sequences (Moving & Copying the Node)
FunnelKit Automations’s next-gen automation builder lets you move, copy and paste the nodes at different steps in your automation sequences.
To do that, click on the action button (three dots) and copy the particular node in your sequence.
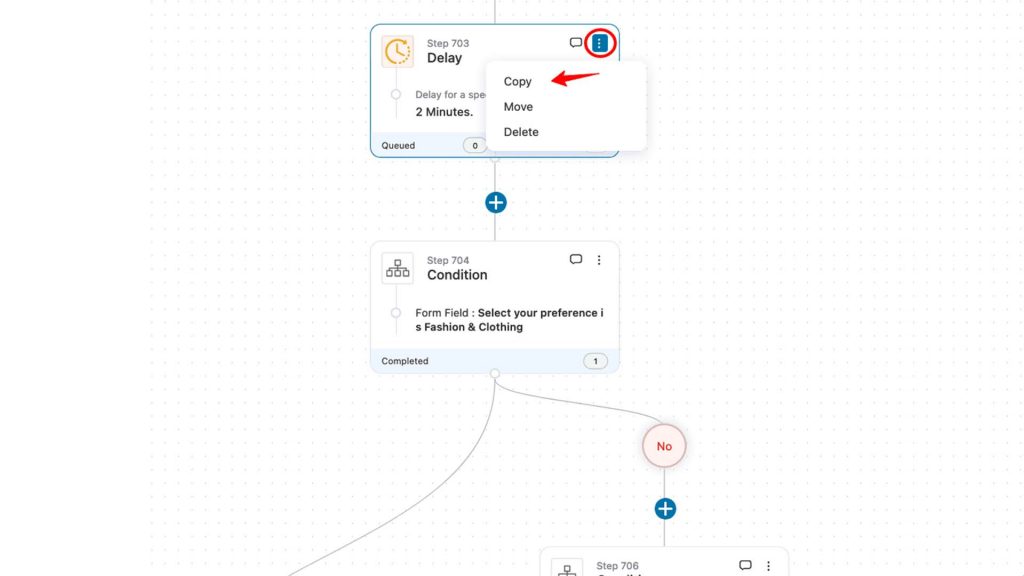
Once you copy the node, different steps will get highlighted.
Click on the step to paste the node there.
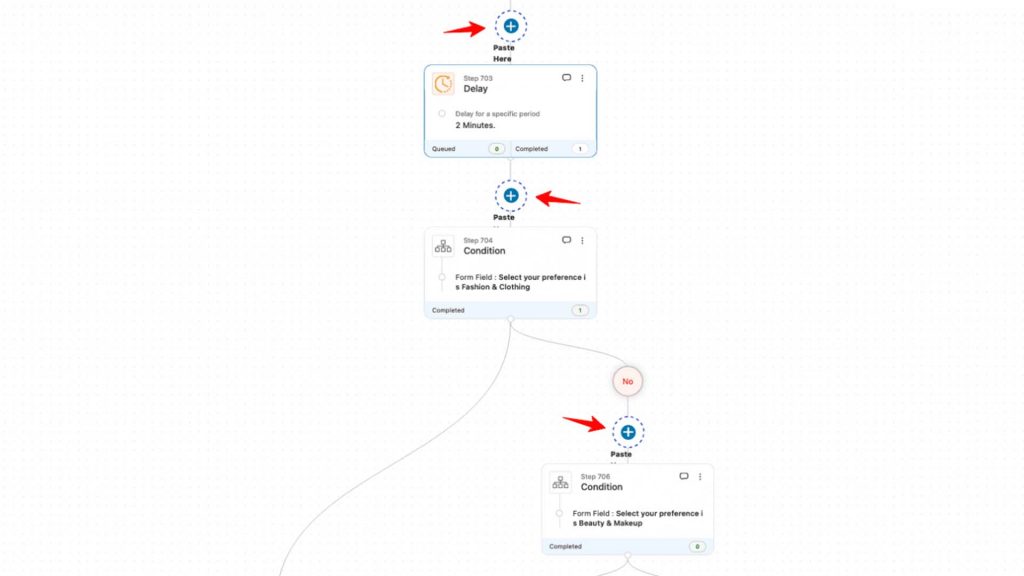
You can follow the same process for moving a particular node to a step in your automated workflow.
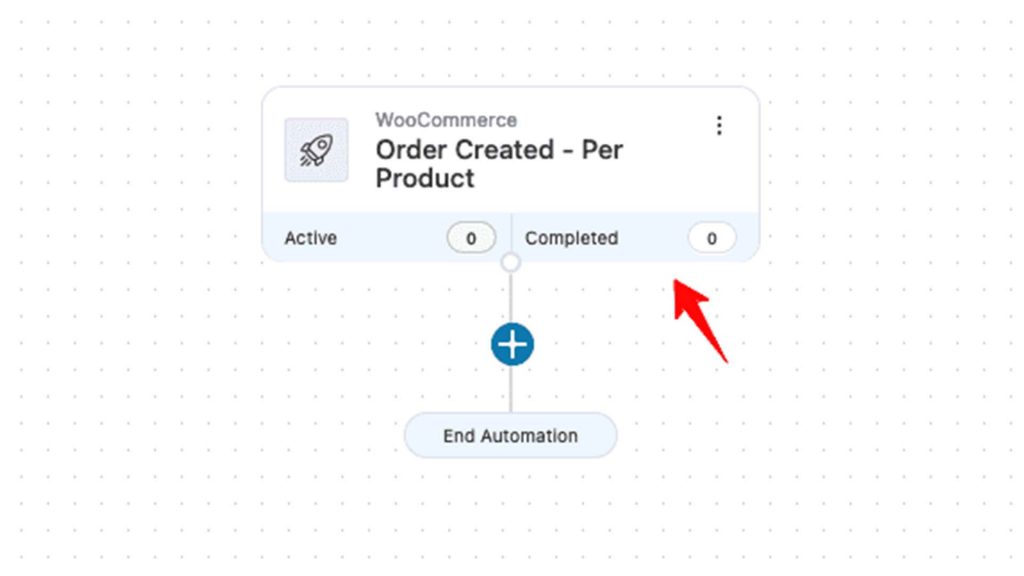
Active and Completed Contacts
You’ll be able to view your active and completed contacts in real-time right on your automated workflows.
You can find these stats in all the automation steps that give you an idea of the contacts’ paths across your workflow.
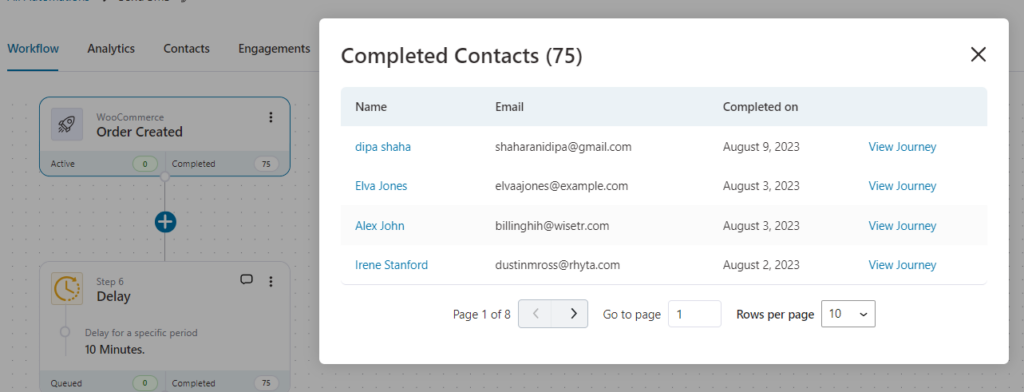
Find the contact details with the link to see the journey of each contact:
- Name of your contact
- Email of your contacts
- The date on which your contact has completed or is still active on this step
For the Delay step, your contact gets queued and resumes its journey in the automations based on the time you’ve set.
Analytics
FunnelKit Automations give you a bird’s eye view to analyze the performance of your workflows.
Just click on ‘View Analytics’ in your automation step to glance through the analytics window.
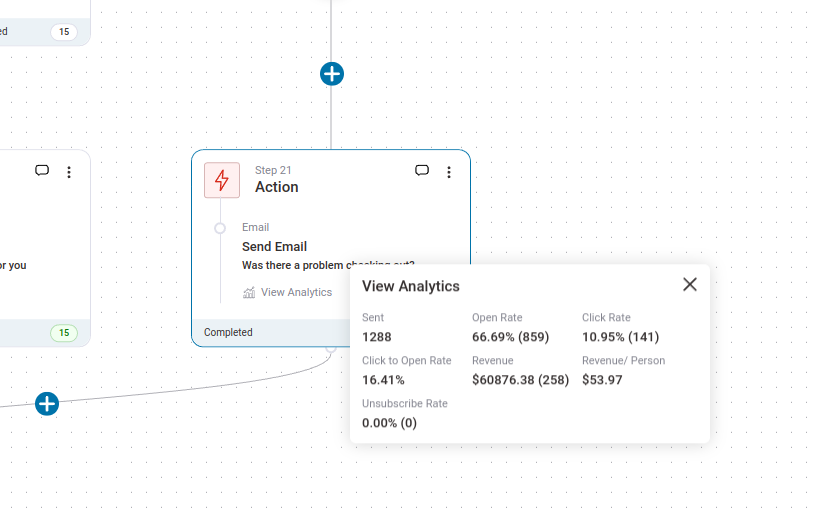
Here you’ll be able to see useful stats of your email, such as:
- Email sent to a number of contacts
- Open rate
- Click rate
- Click to open rate
- Revenue generated
- Revenue per person/contact
- Unsubscribe rate
Not just emails, you’ll be able to view the analytics of SMS in your automations:
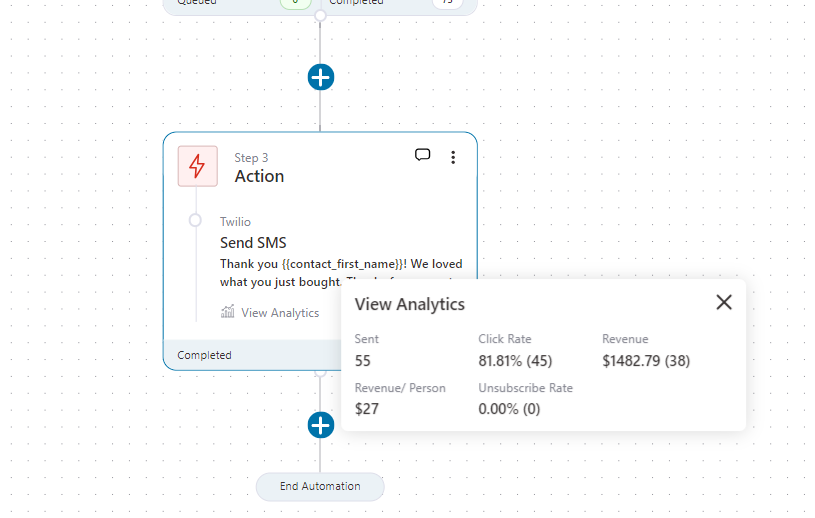
These stats are updated in real-time as soon as the event gets triggered.
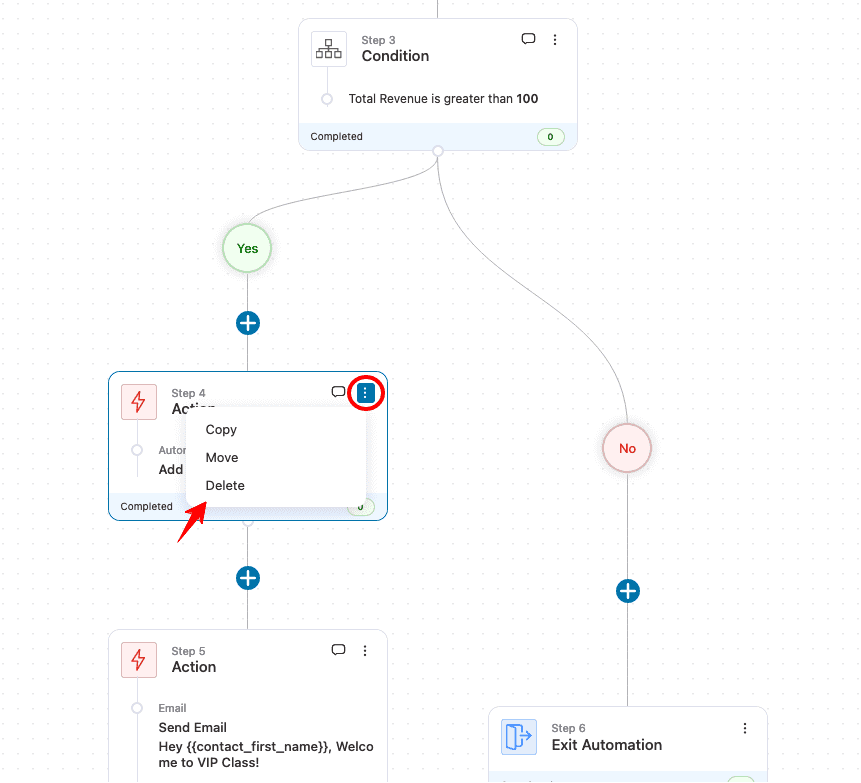
Deleting the Node
You can delete the node at any time in your automated workflow.
All you have to do is click on the action button and hit Delete.
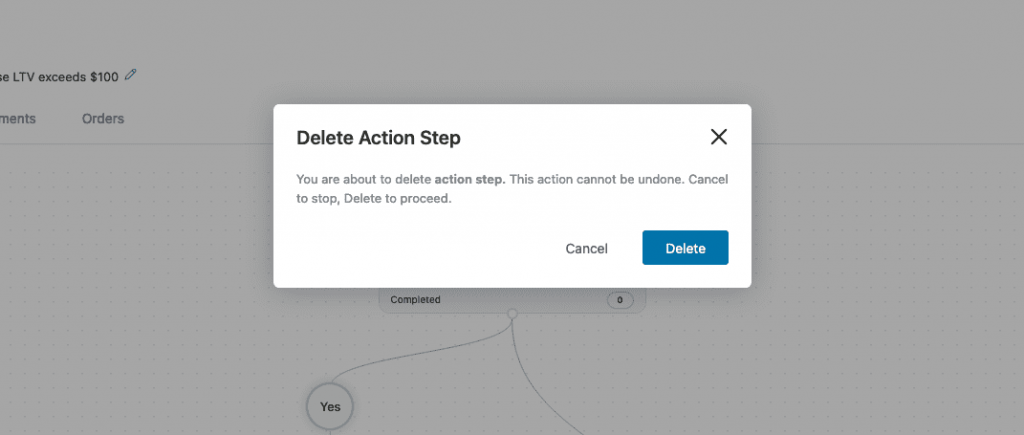
Next, FunnelKit Automations will ask for confirmation whether you want to delete this particular node.
Clicking on Delete will remove the particular node from a workflow.
That’s it! This is all about configuring and editing the steps on the workflow in FunnelKit Automations’s next-gen automation builder.