


FunnelKit Automations integrates with Divi Forms allowing you to set up some brilliant automations by capturing the data when the user submits their form.
In this documentation, we will set up a simple sequence of creating contacts from the data and then sending a promotional email.
Ensure you have downloaded and activated the Divi Builder plugin to your WordPress website.
Let’s start right away.
Creating the Divi Form
Step 1: Create a new form using Divi Forms
Go to Pages on your WordPress menu and click on Add New.
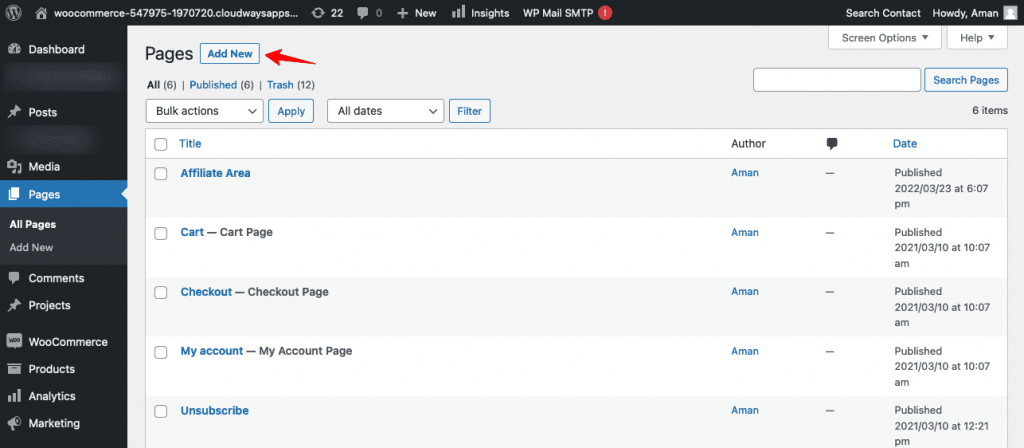
Enter a title for your page.
Then, click on Use The Divi Builder.

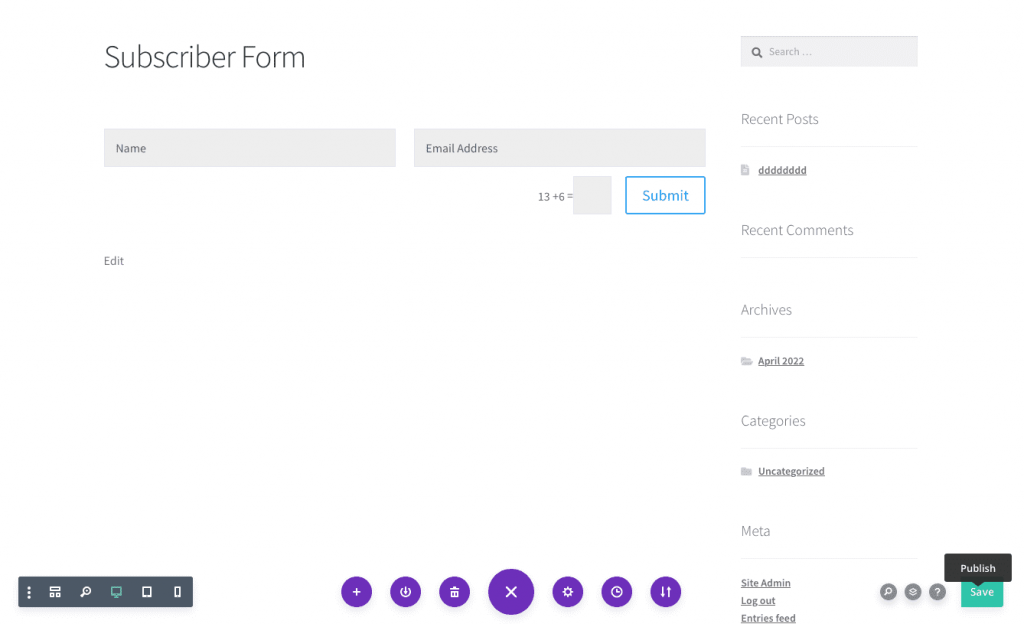
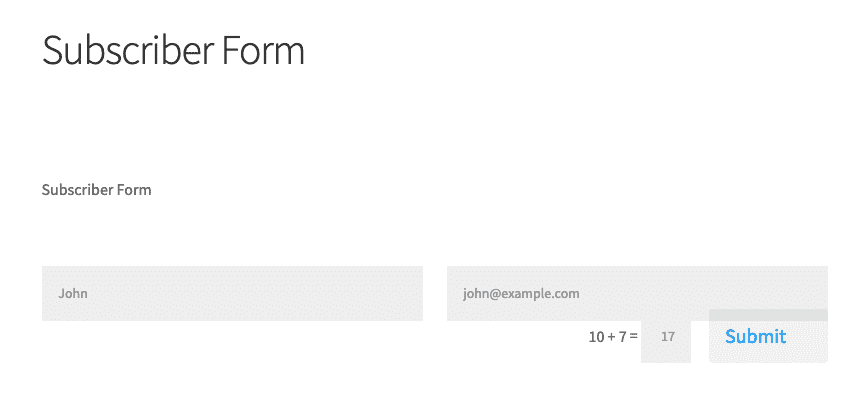
Now, create a simple form.
Once done, hit the Publish button.
Setting Up the Automation
Step 1: Set up a new automation
Go to Campaigns ⇨ Automation (Next Gen) and click on Add New Automation.
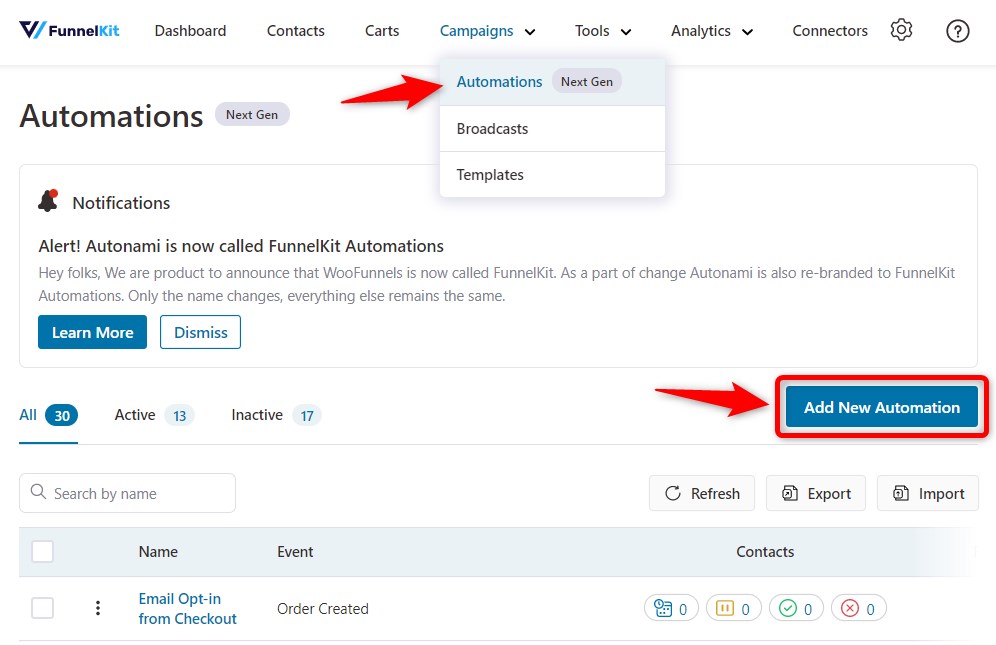
Next, hit the Start from Scratch.
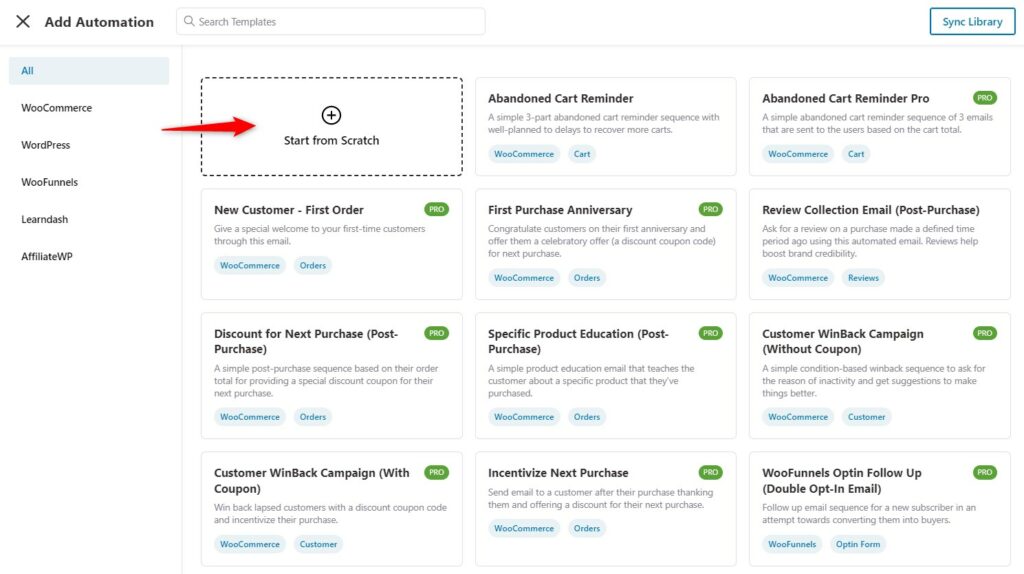
Now, enter the name of your automation.
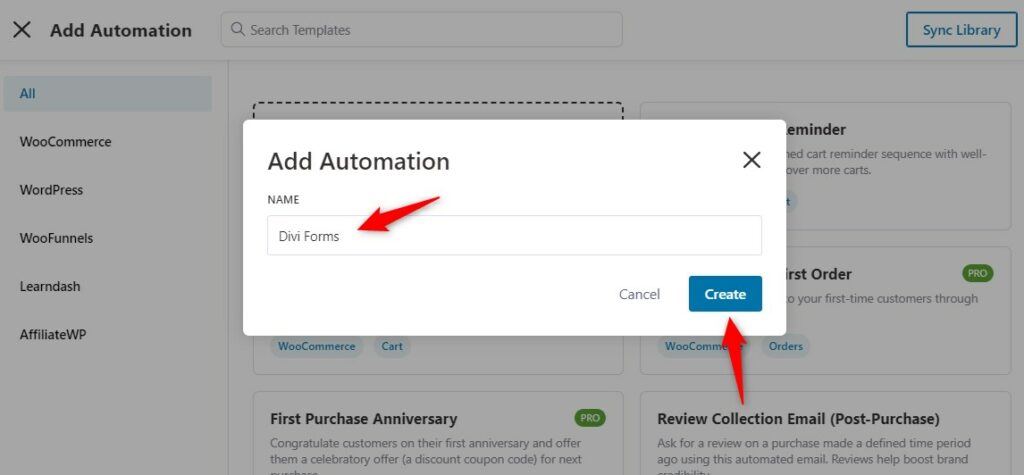
Click on Create when done.
Step 2: Choose the “Divi Form submits” event trigger
Click on the Form Submits trigger under Divi.
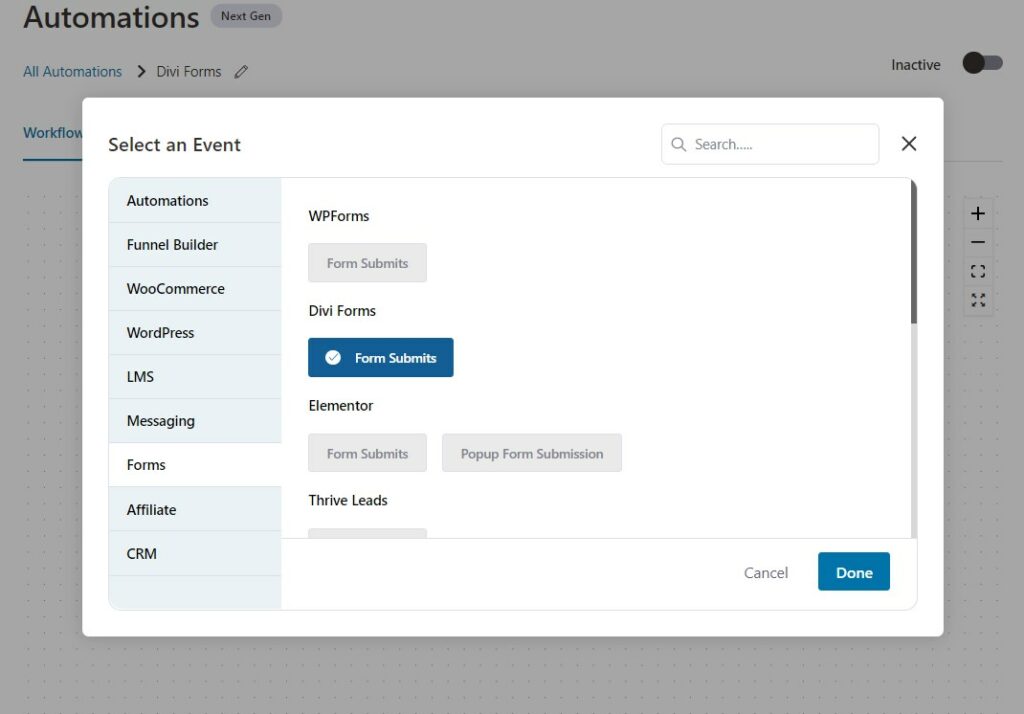
Click on Done.
Configure your form by selecting the form and mapping the email field.
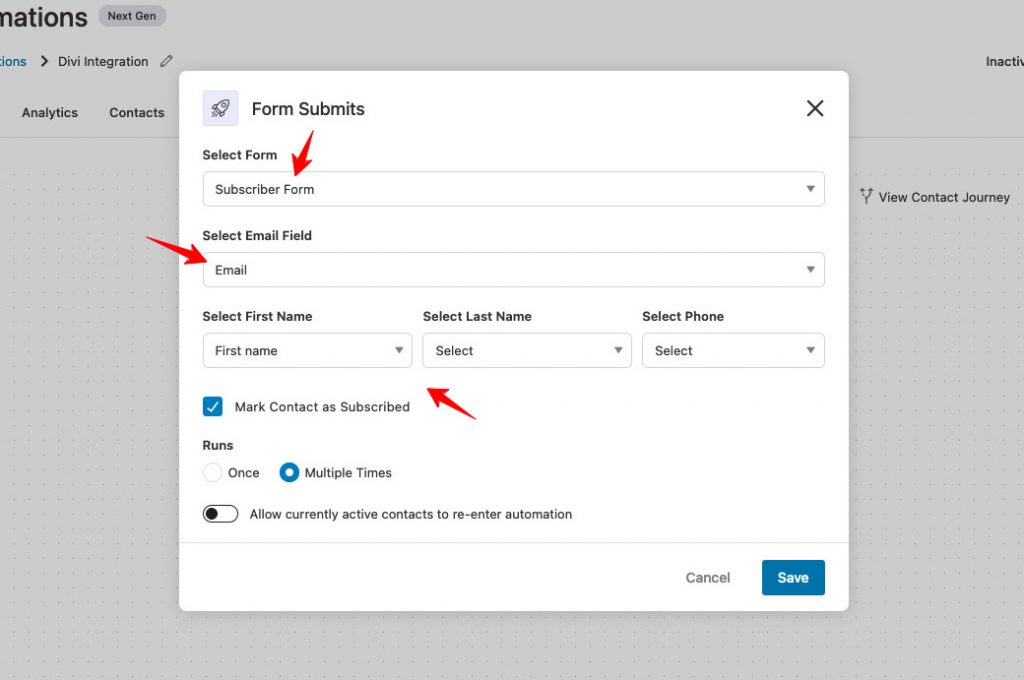
Click on the Save button.
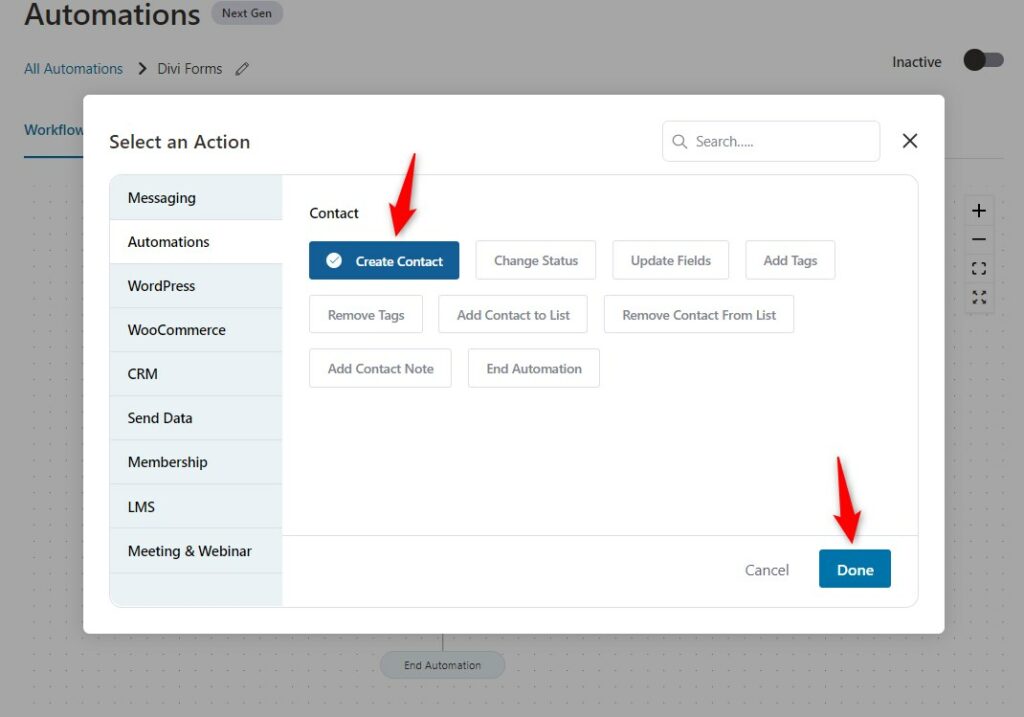
Step 3: Set up the “Create Contact” action
Click on the (+) icon and choose Action.
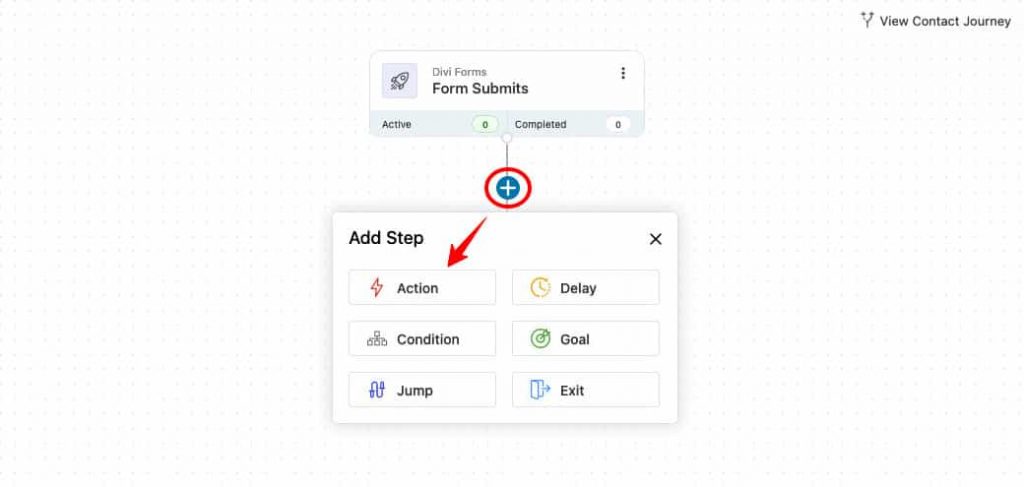
Now, hit on Create Contact under FunnelKit Automations.
Next, enter the form data on the contact fields using the merge tags.
All you have to do is go to the Form Fields merge tag and copy the respective fields.
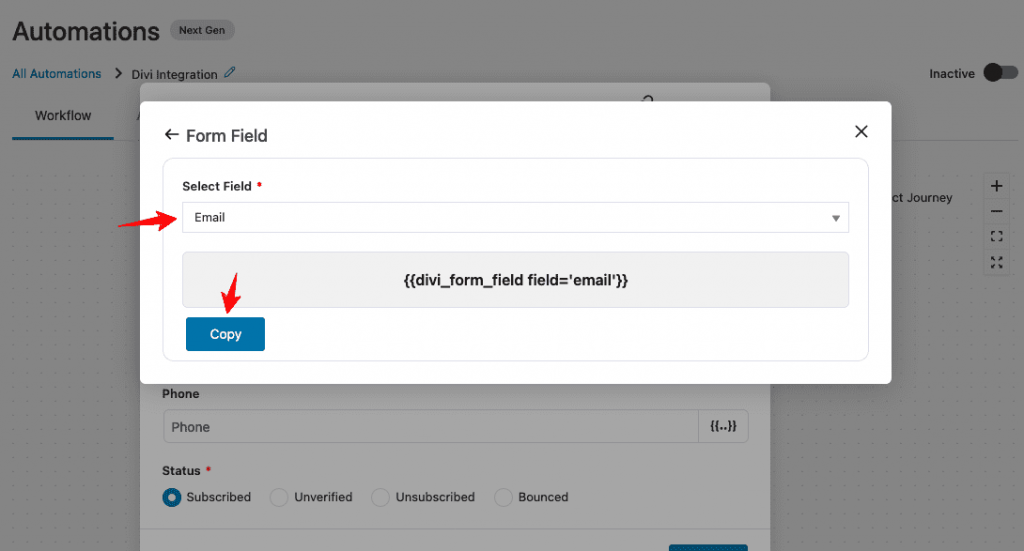
Paste the information here.
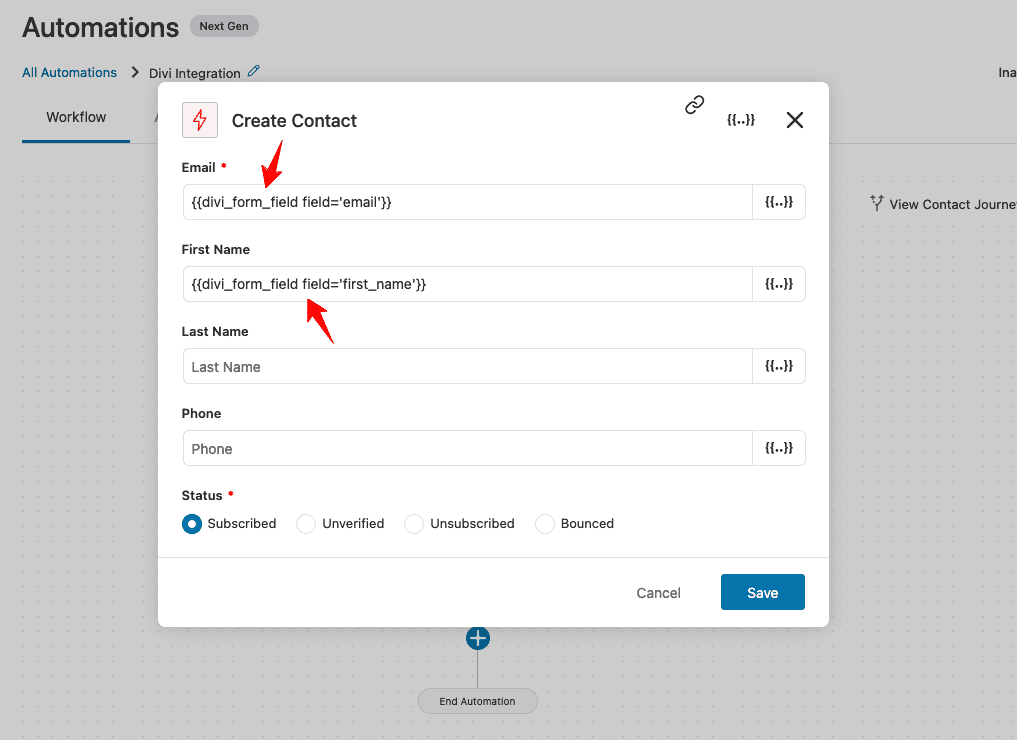
Click on Save.
Step 4: Send a welcome email to your subscribers
Add a Send Email action.
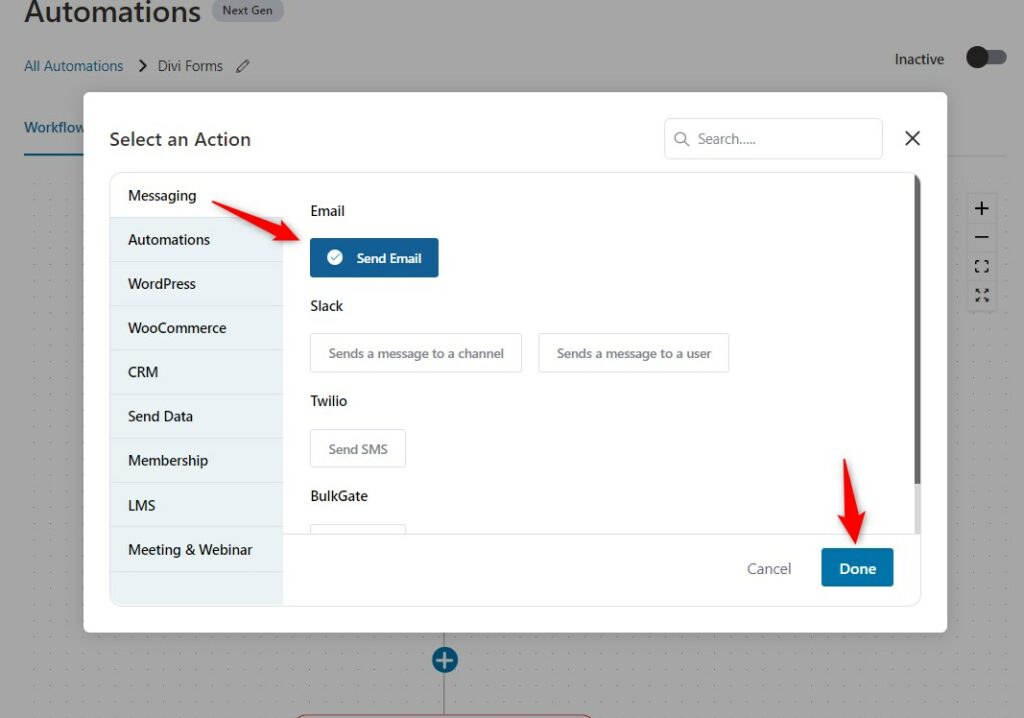
Click on Done.
Now, create your email body content, and write the subject line and preheader text.
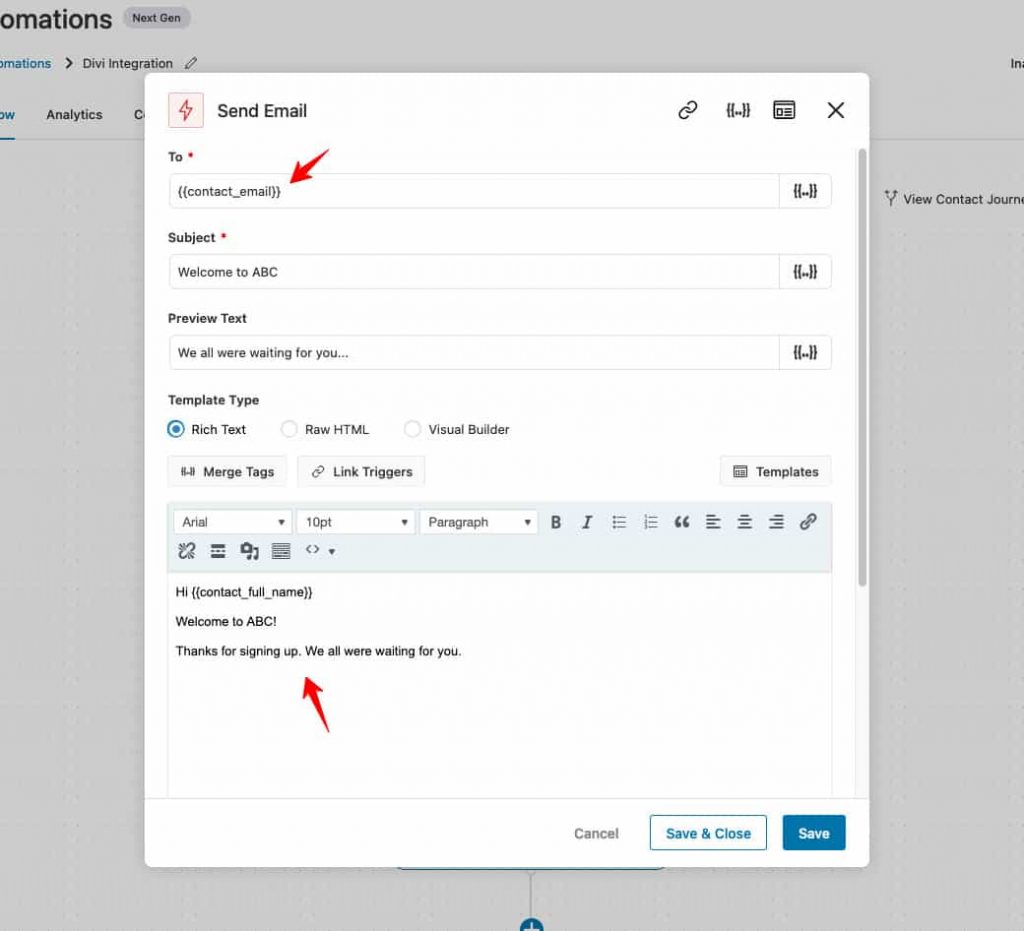
Click on Save.
Step 5: Activate your automation
Now, turn the automation toggle to active to make your automation live.
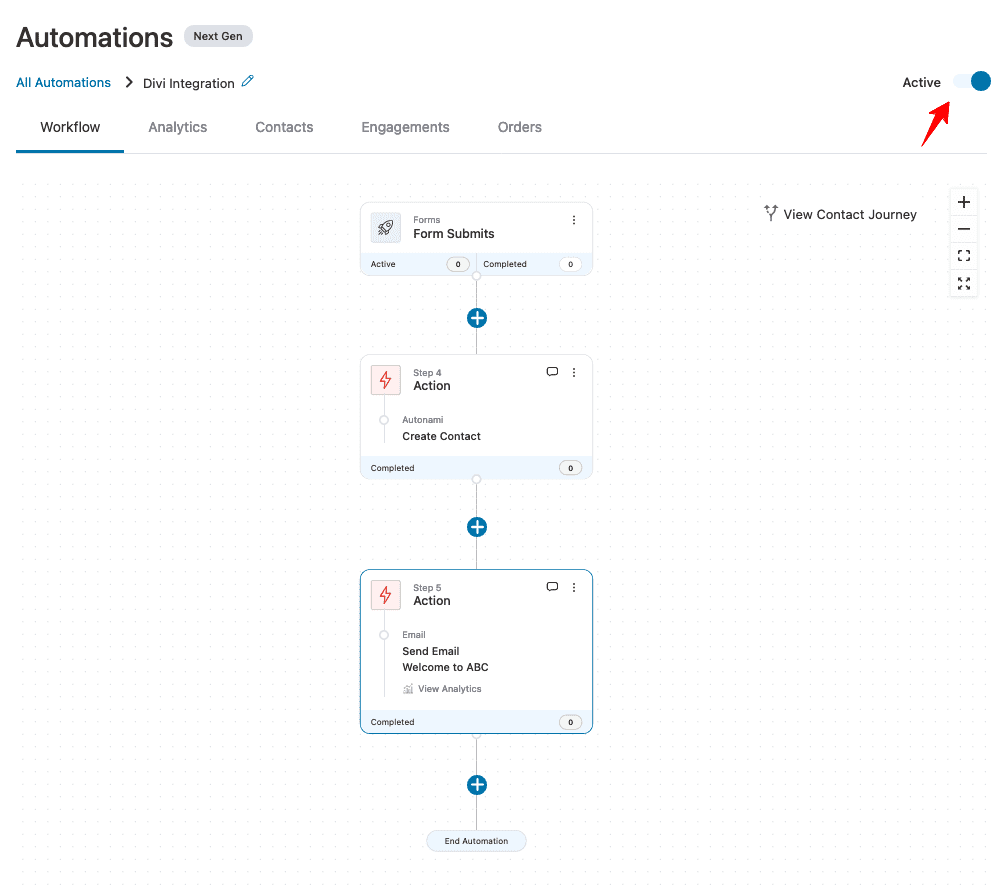
That’s it! Your automation is now live and running.
Testing the Automation
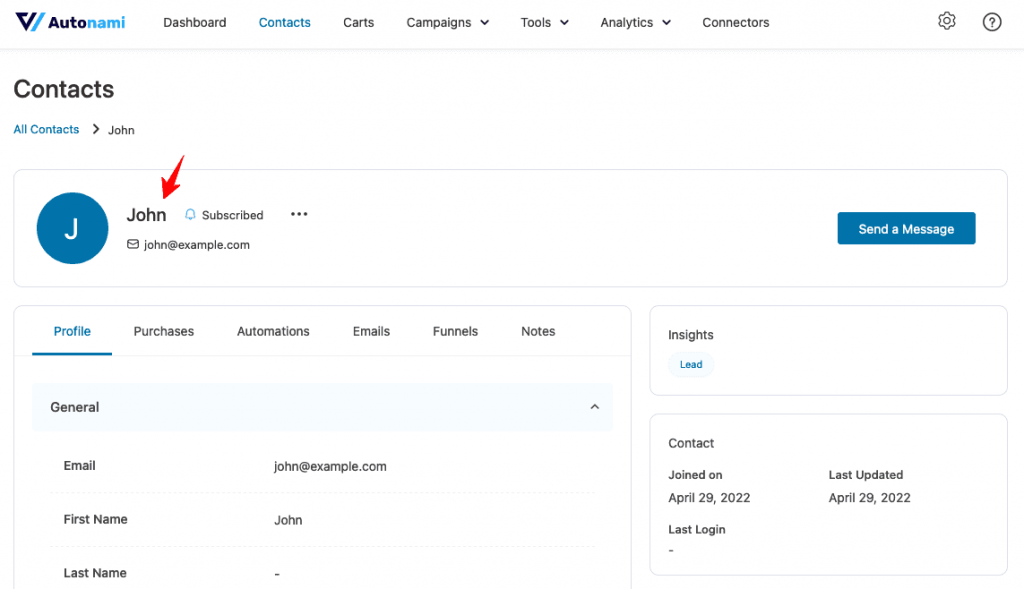
So when a user fills up the form and clicks on the Submit button.
The event will trigger and the contact will get created in FunnelKit Automations.
Then this email will be sent to them:
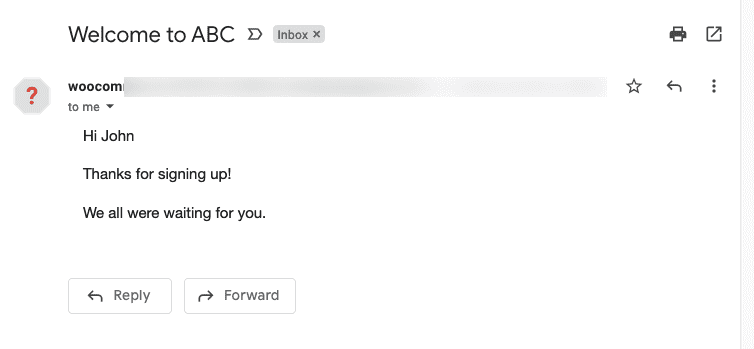
This shows our automation of FunnelKit Automations - Divi integration is successfully working.
You can test unlimited use cases for your campaigns and power up your business.