


In this documentation, you'll learn how to add a product to your checkout page in FunnelKit (formerly WooFunnels):
Step 1: Go to the Products Tab
The products tab is second in the list, right after the design tab:
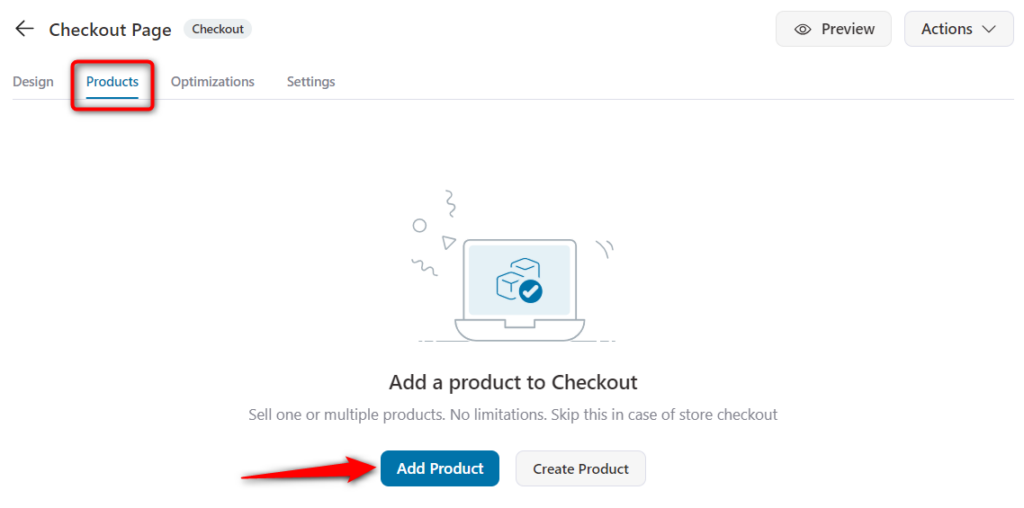
Click on the Add Product button to add items to your checkout page.
Step 2: Add a Product
On clicking on the button, you'll see a pop-up window to select the product(s).
Enter the first few characters of the product name and matching options will appear in the drop-down.
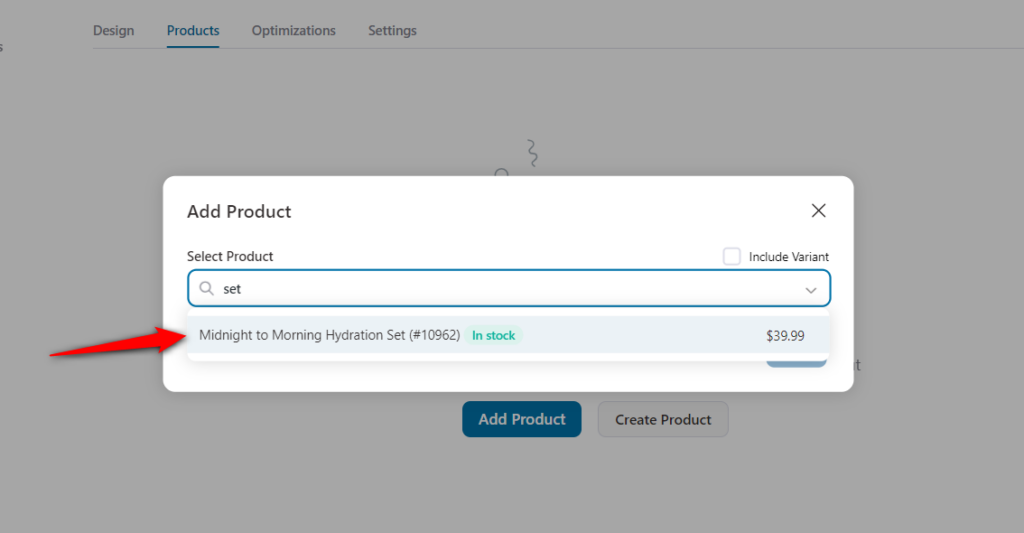
Hit the 'Add Product' button.
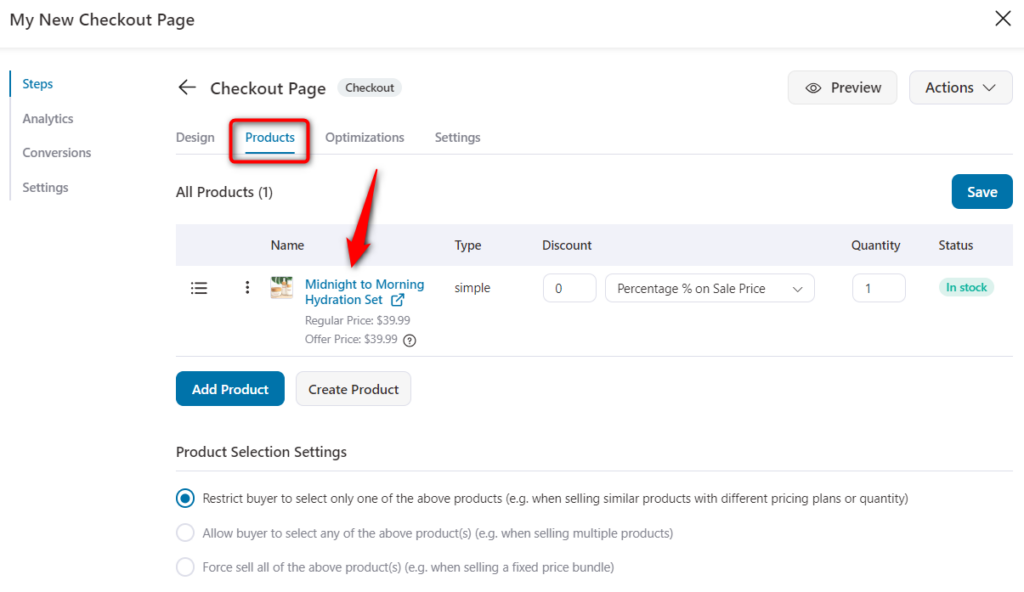
Step 3: Set the discount/quantity (optional)
Let's say you want to sell a pack of three at a discount then you can configure all the settings from here.
Set the discount in percentage or in fixed value. You can even choose to set the discount on regular price or sale price.
Step 4: Re-arrange the products to display on checkout (optional)
In case you need to display the added products in a specific order, you can always re-arrange with a simple drag and drop.
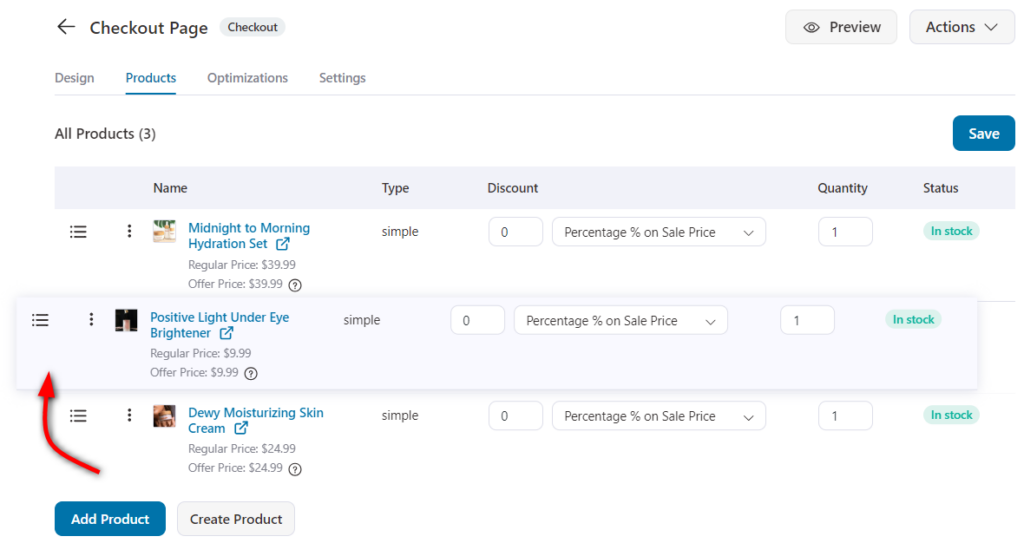
Once done, click on Save changes.
That's it the product is now added to the checkout page.