


Thank you for your purchase. Congrats on getting the Funnel Builder by FunnelKit (formerly WooFunnels) for your business.
So let's quickly look at what you get with your purchase:
- Funnel Builder (Core plugin)
- Funnel Builder Pro
How to Install the Funnel Builder on WordPress
You need to install the zip files of Funnel Builder for the product license you purchased.
For instance, if you've purchased the Funnel Builder Starter plan, then you need to install the products in the following order:
- FunnelKit Funnel Builder
- FunnelKit Funnel Builder Pro
You'll be able to download the zip files of the plugins from your FunnelKit account.
Follow the step-by-step process to install the FunnelKit Funnel Builder:
Step 1: Download the plugin files from your account
Go to your account and you'll see the following two files:
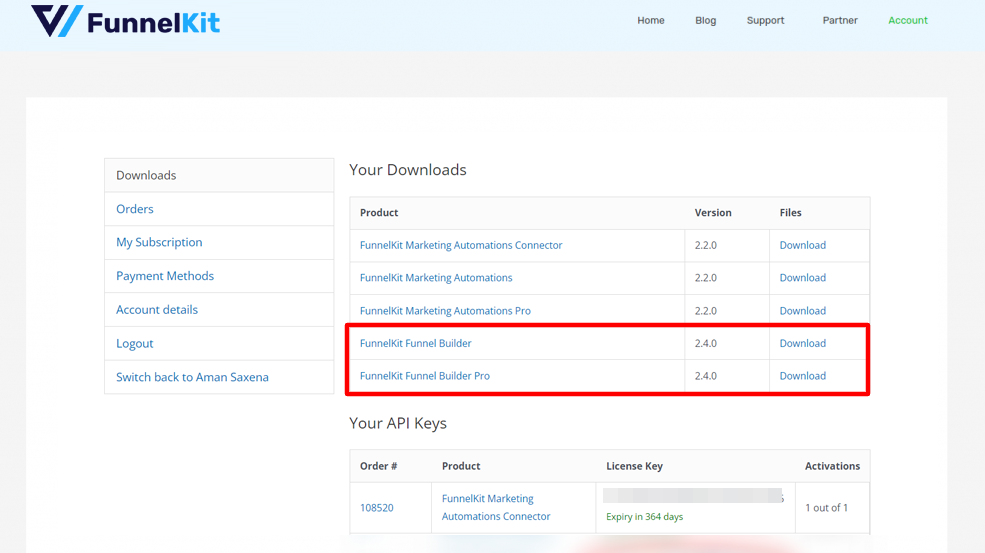
Download both the files. The files will get downloaded on your system in a (.zip) format.
Step 2: Set up FunnelKit Funnel Builder on your website
Install the FunnelKit Funnel Builder (base plugin) on your WordPress website.
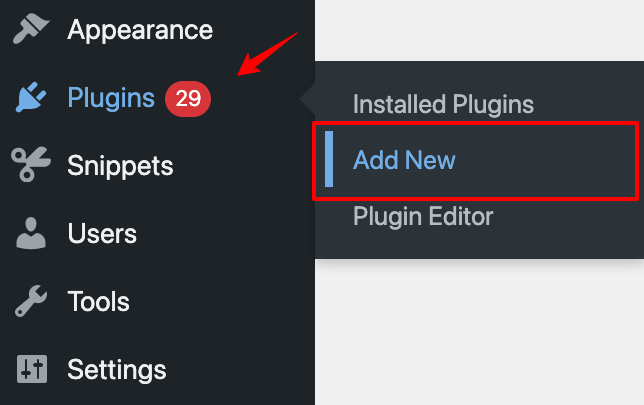
Go to the WordPress menu and click on Plugins → Add New.
Upload the plugin here and click on Install Now.
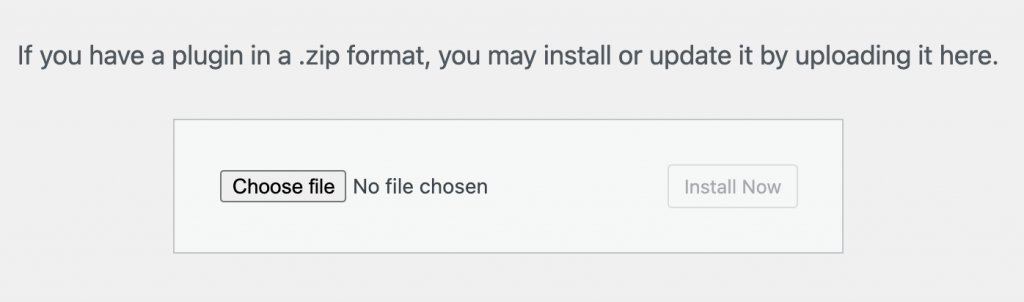
Once it gets installed, click on Activate Plugin to allow it to run on your website.
You have successfully installed the Funnel Builder base plugin!
Step 3: Install the Funnel Builder Pro plugin
Follow the same method and upload the Funnel Builder Pro plugin file you downloaded in Step 1.
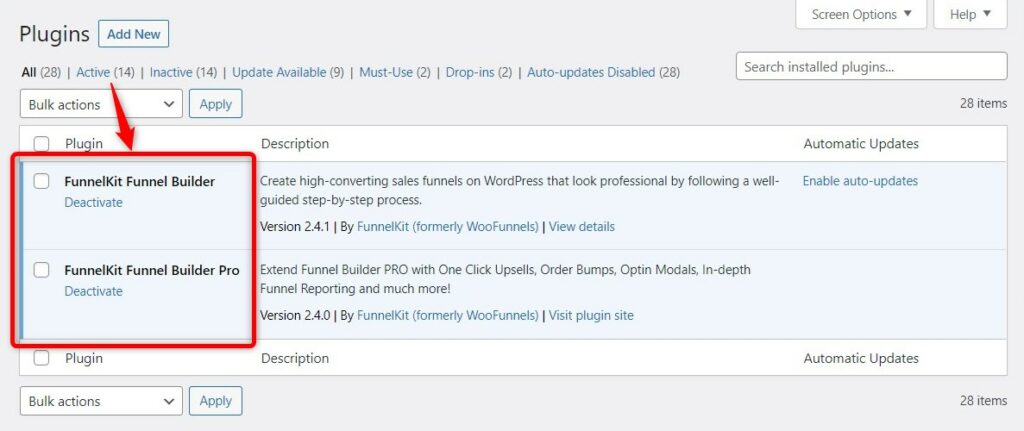
Once you're done with the installation part, you'll be able to see both plugins here:
Let's now look at how to activate the license.
Activating the License
Activate the license for the Funnel Builder Pro.
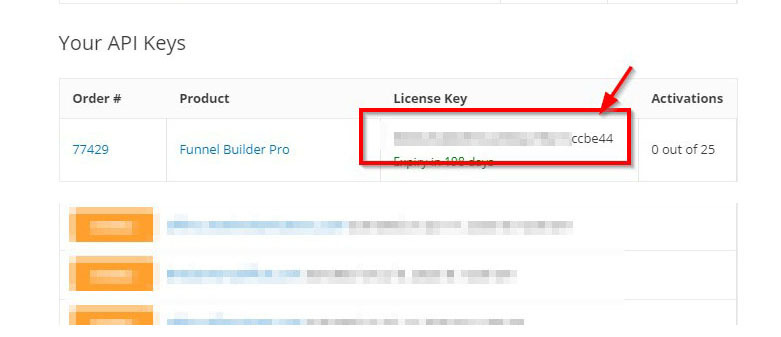
Step 1: Go to your FunnelKit account and copy the activation code
Step 2: Paste the Activation Code and Activate
Go to FunnelKit ⇨ Settings and to the General section.
Paste the code and click on Activate to activate the license.
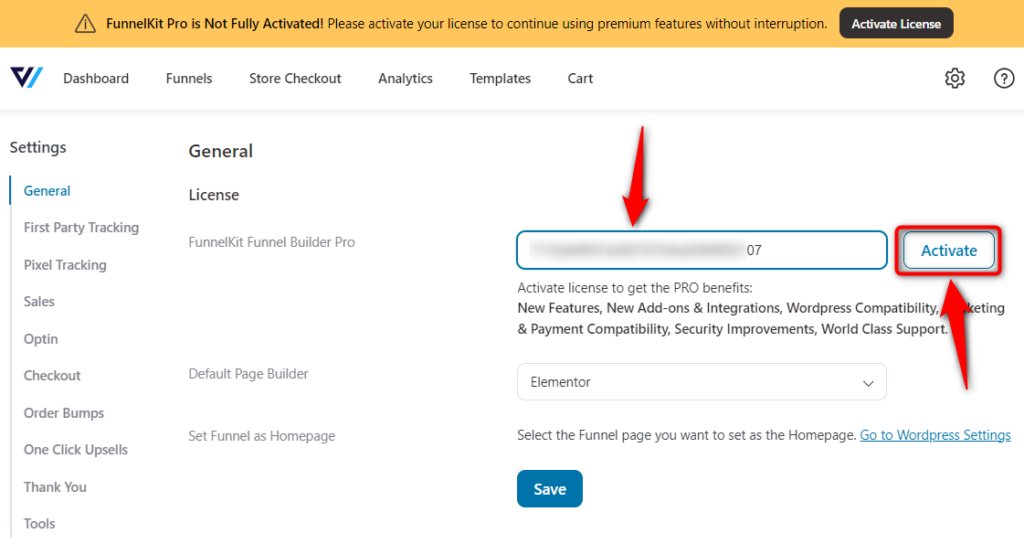
Once done, click on the Save button.
That's it! You can start using FunnelKit Funnel Builder now.