


The opt-in form is where a user signs up for your email list.
You can customize the form fields - Add new fields, edit them, re-arrange, and more.
Let's see how.
Edit the Form
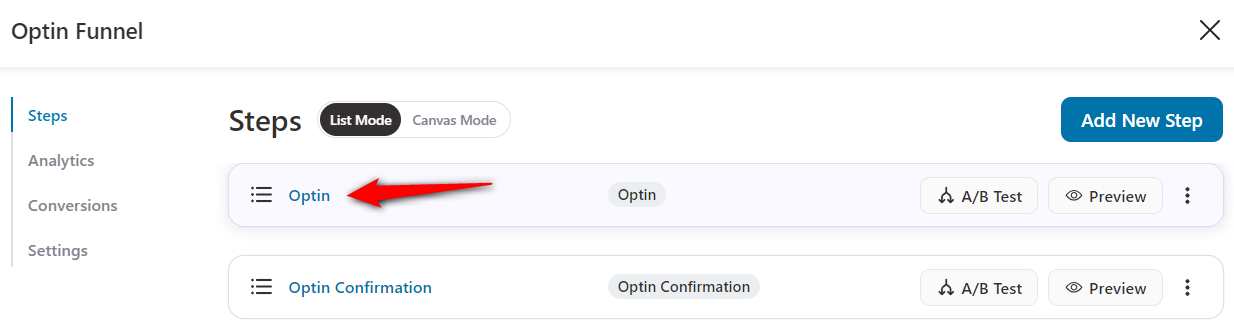
Step 1: Click on Edit
Click on the Optin name or the pencil icon to begin editing.
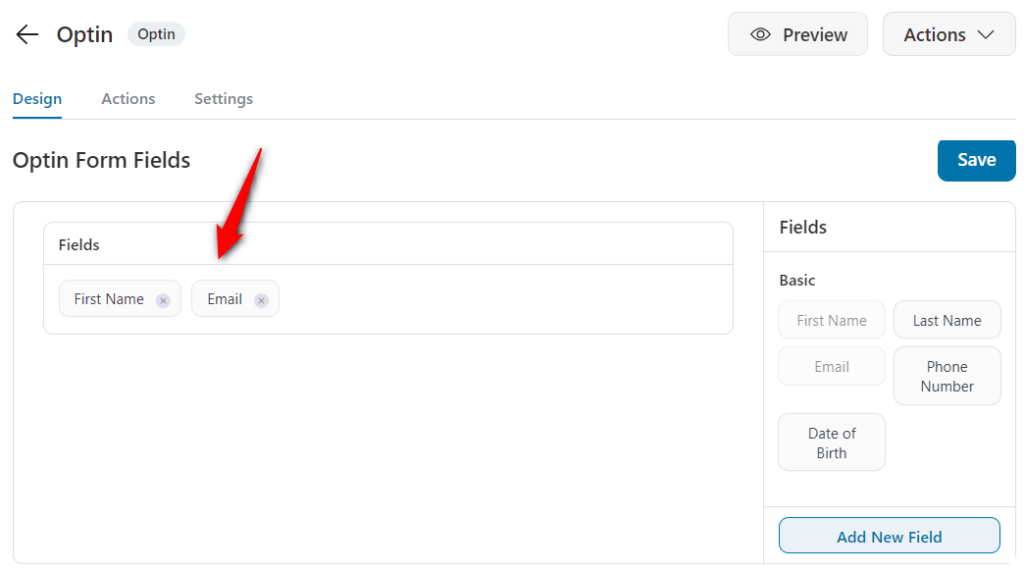
Step 2: Go to the Optin Form Fields section in the Design tab
You'll be directed to the Design tab - scroll down to the Optin Form Fields.
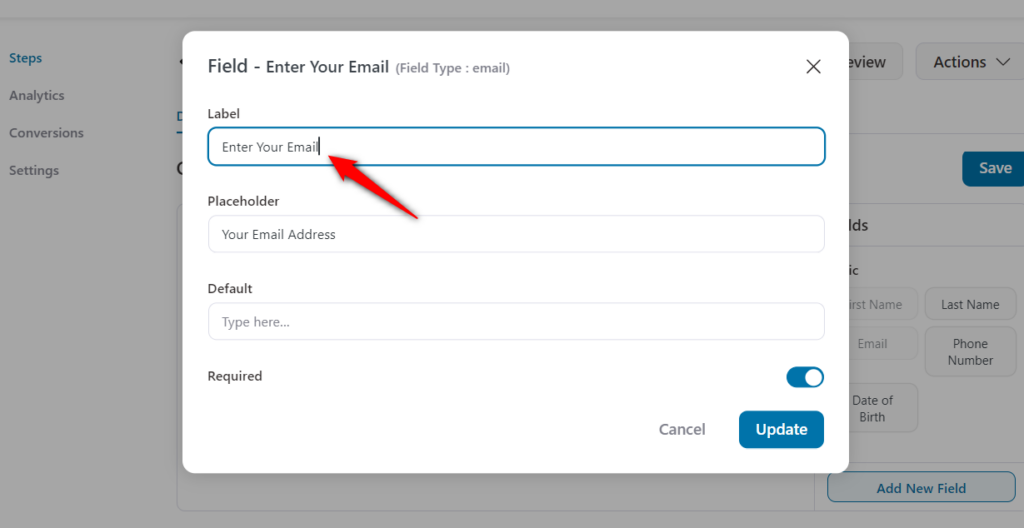
Step 3: Edit the Field
Click on the field you wish to edit. Make the necessary changes and click on Update when you're done.
You can edit, label, placeholder text, and even mark a field as optional or required here.
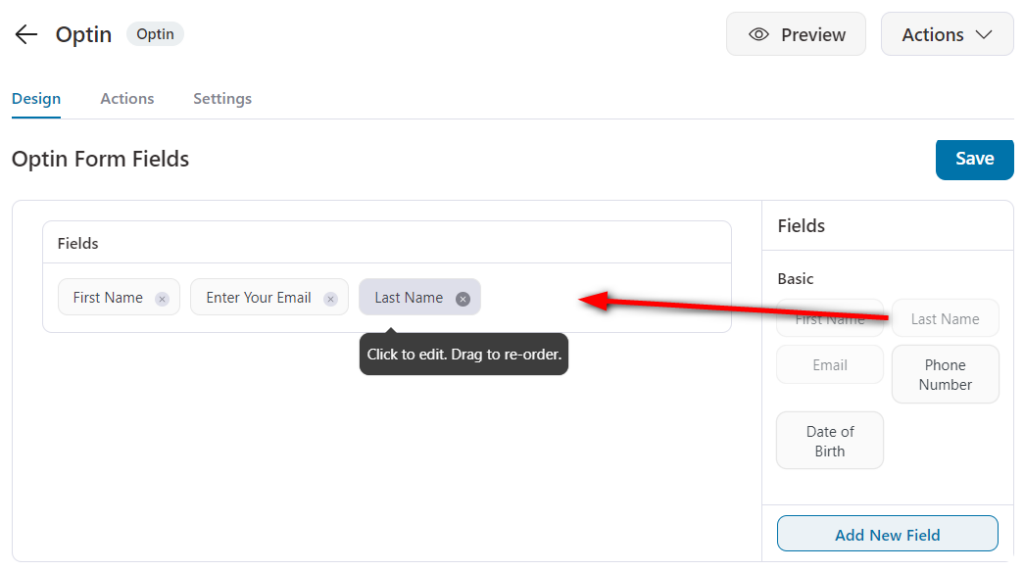
You can even rearrange the fields' sequence by dragging and dropping the field titles around the page.
Add a New Field
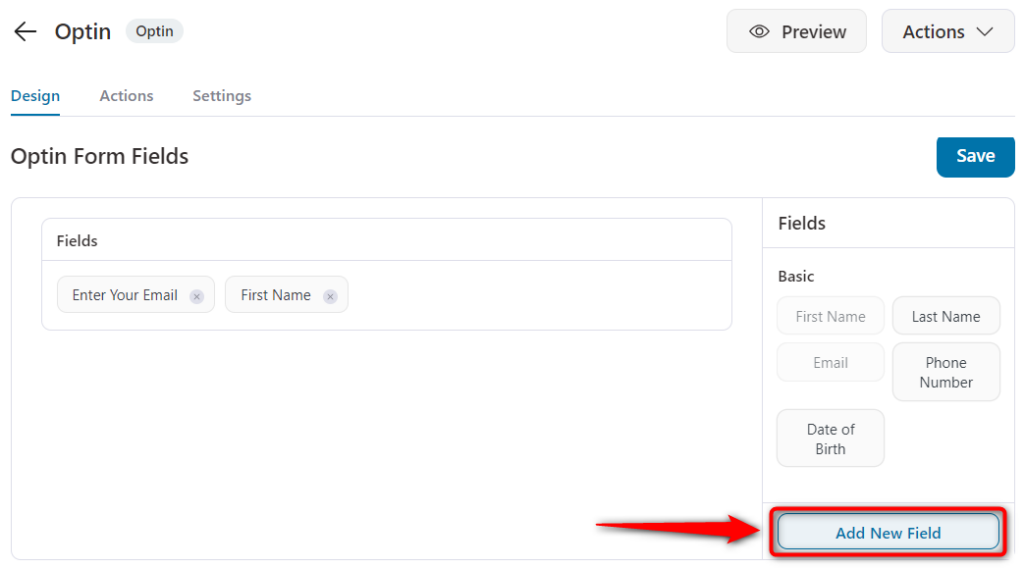
In case you want to add a new field, just click on the 'Add New Field' tab on the bottom right.
Types of Fields
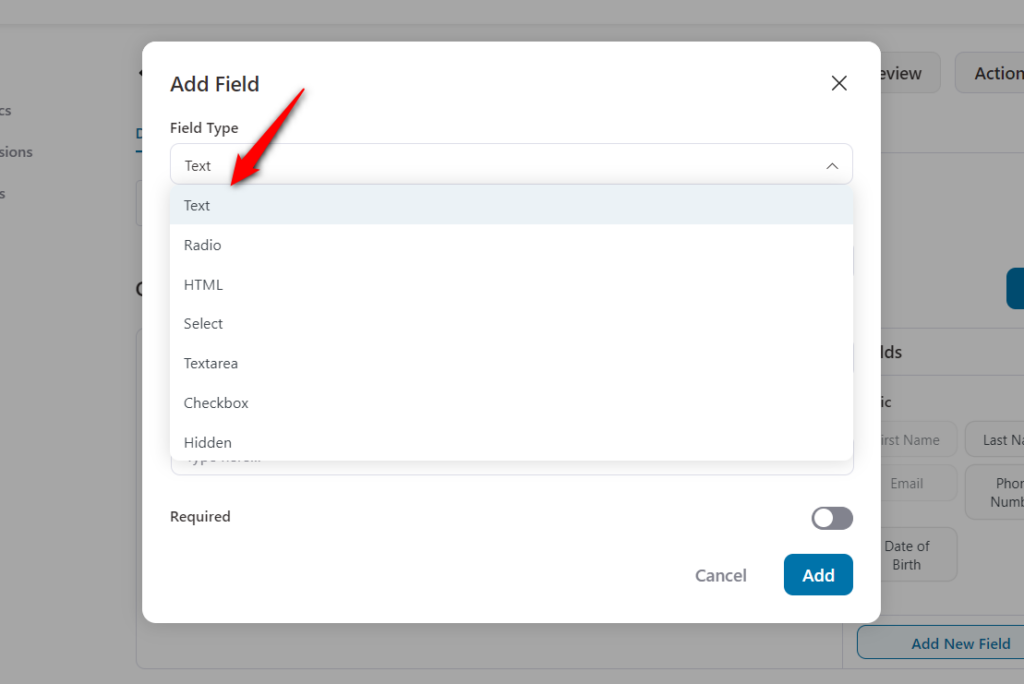
You can add a custom field to your opt-in form. Choose from a text, checkbox, radio button, text area, select, hidden, or even HTML.
Click on Add when done.
Delete a Field
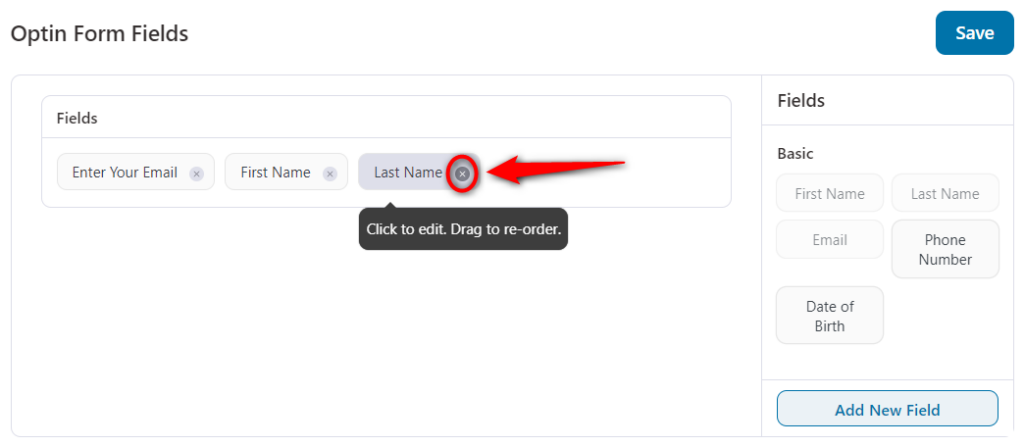
Deleting an unwanted field is also pretty easy.
Just hover over the field you wish to remove and click on the red X to delete.
When you're done with the Optin form you've created, click on Save to store the edits made.
That's done! This is how you can customize the fields on your opt-in form.