


The sales page is a very important step in a sales funnel. The user can explore your paid product in great detail.
You can use testimonials, videos, and pictures to learn more about it.
Now let's look at how to customize your sales page.
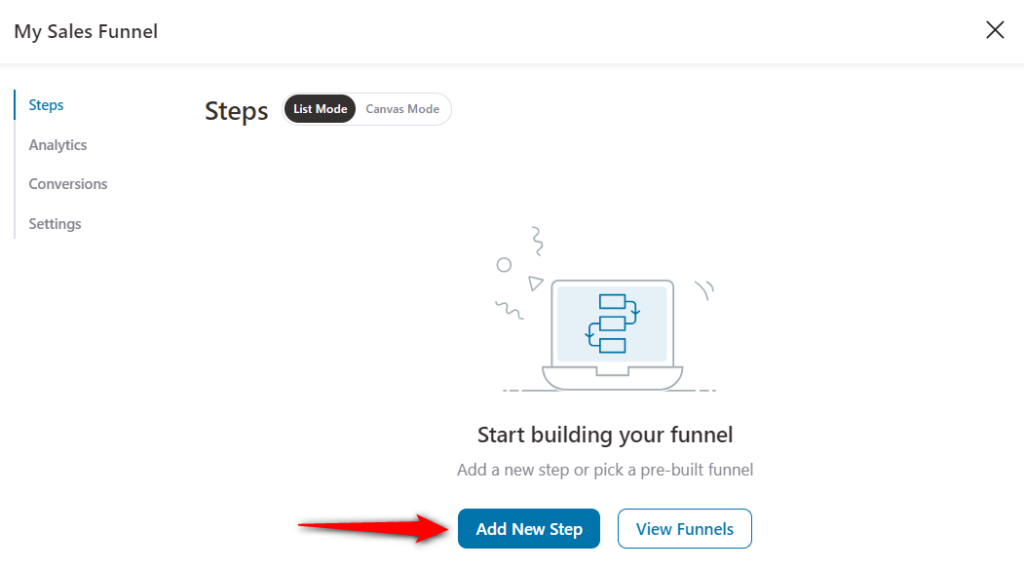
Step 1: Add the sales page to your funnel
Click on the Add New Step to add the sales page to your funnel.
Choose the template of your Sales page and edit it using popular builder tools such as Gutenberg, Elementor, Divi, Oxygen, or any other.
Here, we will import the Persuader template and selected the Elementor page builder.
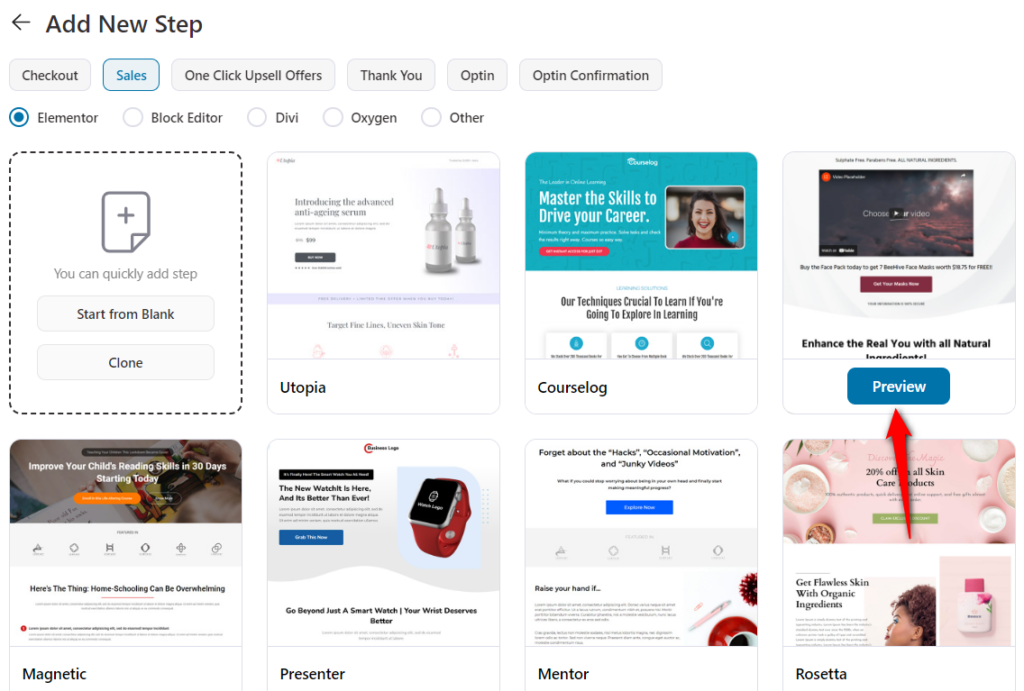
You'll be able to preview the full template page here.
Next, click on Import This Template and name your sales page.
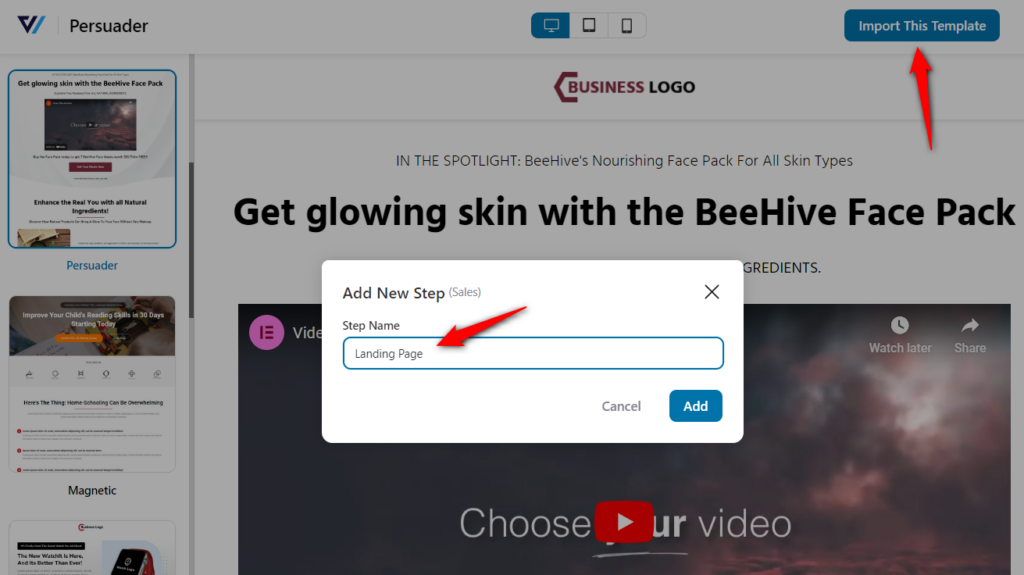
Clicking on Add will import your sales page template.
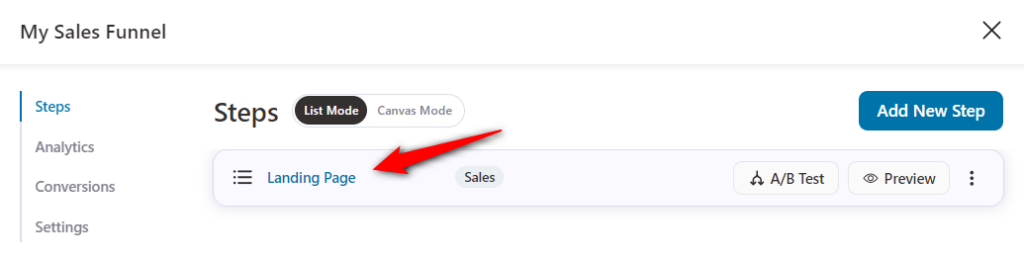
Step 2: Customize your sales page
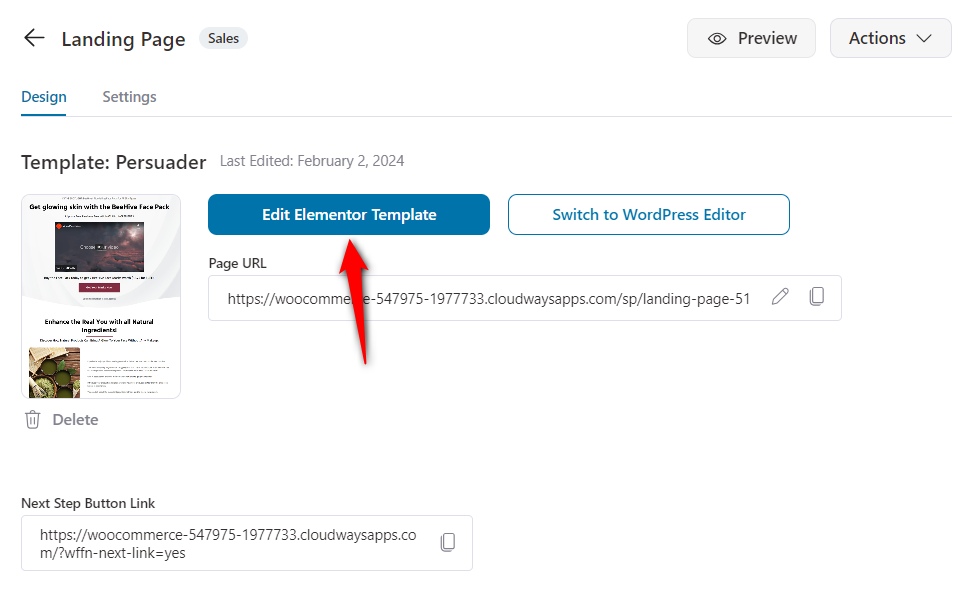
Click on the sales page to start customizing it.
Clicking on Edit Elementor Template would open the landing page in Elementor to begin styling the page.
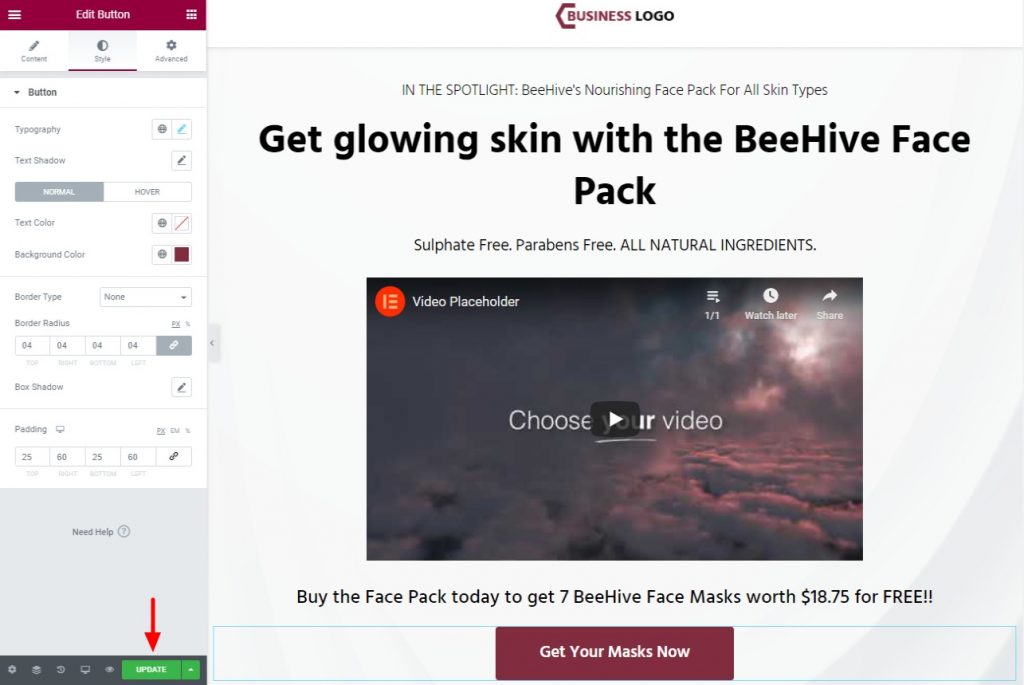
This is how the page opens in Elementor:

Click on the images, buttons, or sections to change the copy from under the ‘Content’ tab.

Step 3: Style the page
You can change the color, typography, borders, buttons, padding, and more of the text on the page from the Style tab.

Once done, click on the green ‘Update’ button at the bottom of the screen.
With the sales page all decked up, let’s move on to the checkout page.